

Introduction
In today's blog we will learn how to build discord bot named WisdomWhisper using Node.js. This bot will provide random advice when prompted by user commands. We'll start by establishing the basics with two initial commands. The first, /ping, is a straightforward command to demonstrate basic user-bot interaction. The second, /advice, will fetch and random pieces of advice from AdviceSlip API.
Setting Up Your Discord Bot
Before we dive into the building process, there are a few key prerequisites and initial setups required.
Prerequisite
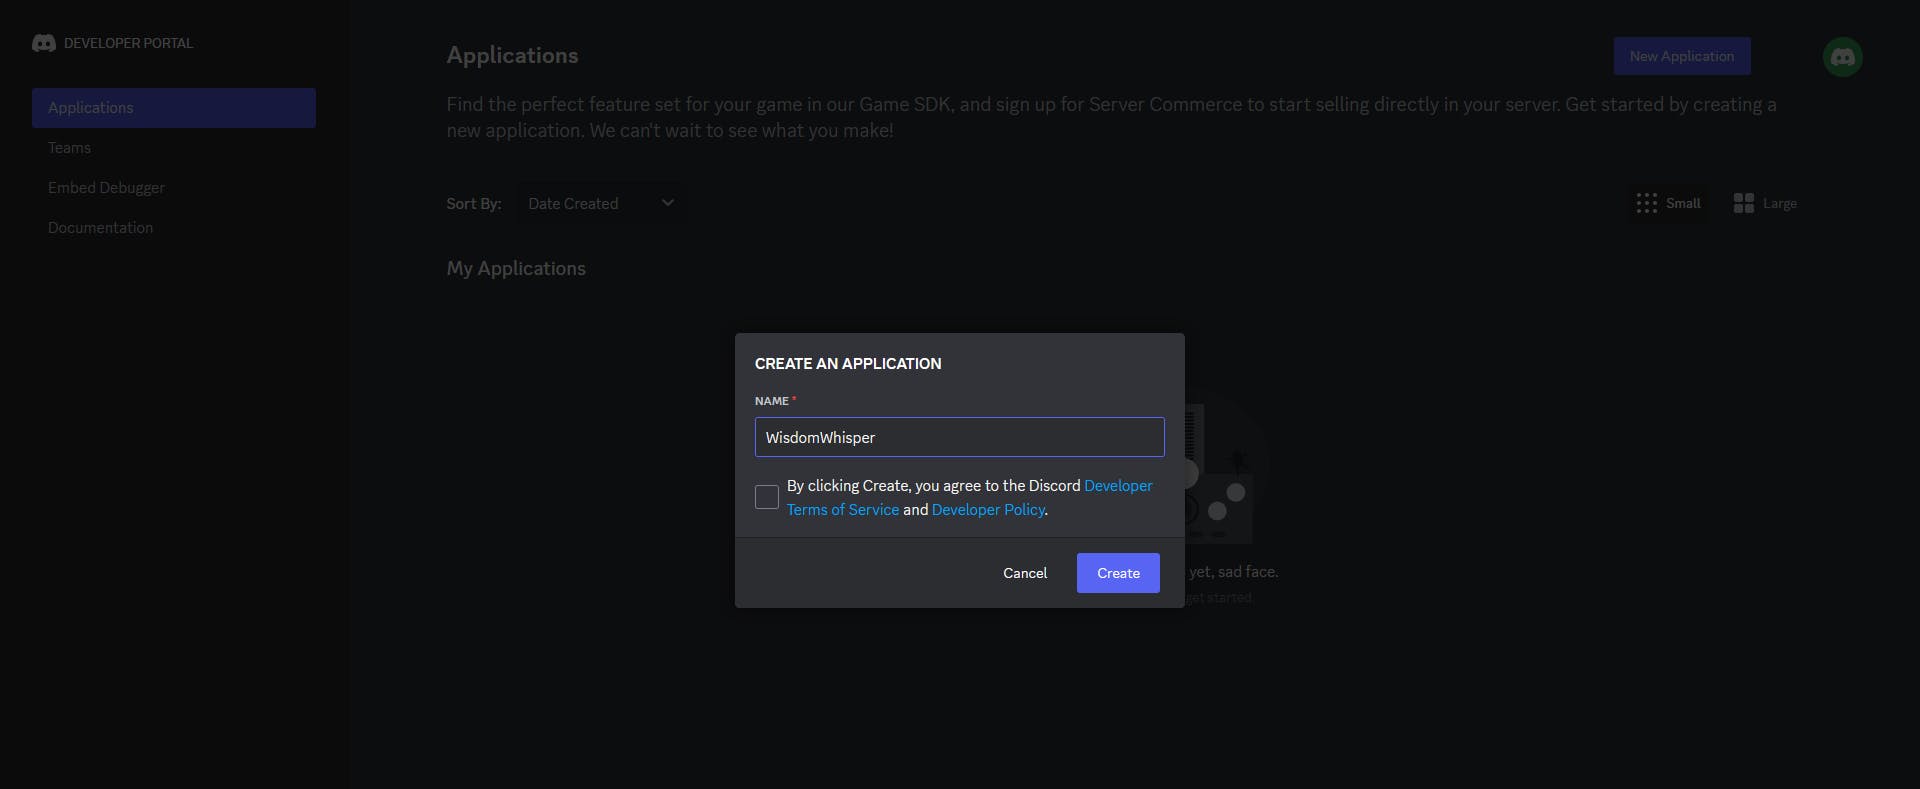
Step 1: Registering the Application
First, register your application on Discord Developer Portal.

Step 2: Naming Your Bot
Choose any name you prefer for your bot. In this guide, we'll name our bot WisdomWhisper.
Step 3: Securing the Token
Make sure to copy and securely save the bot's token immediately, as it is visible only once. This token will be essential for our Node.js application. If you forget to save it, you can reset the token. Additionally, you have the option to add an image for your bot.
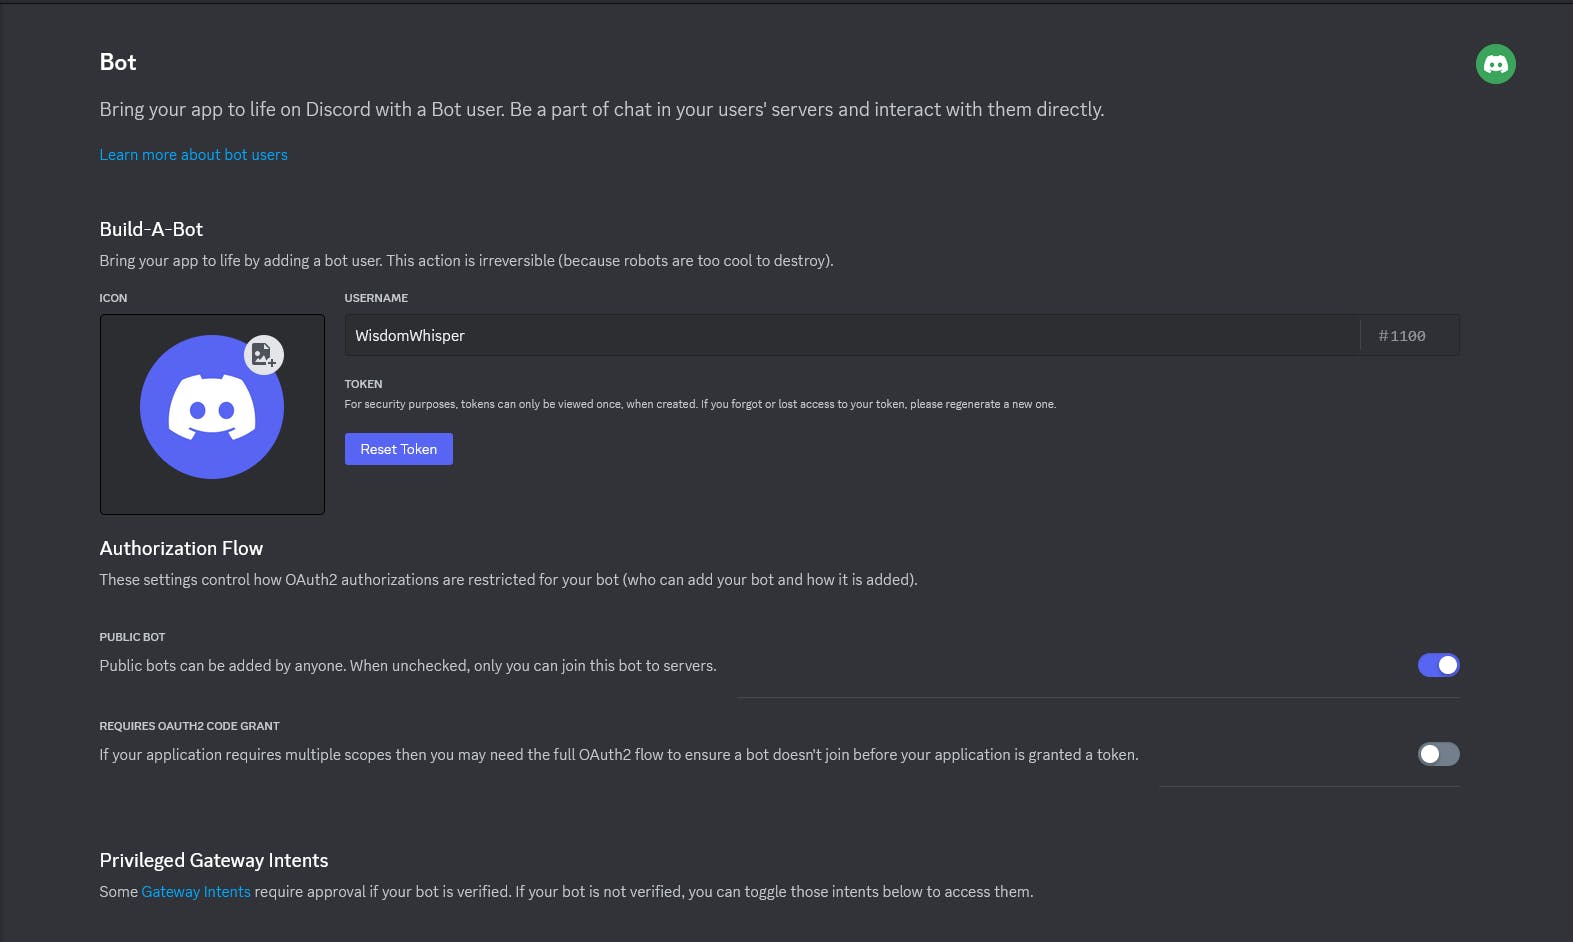
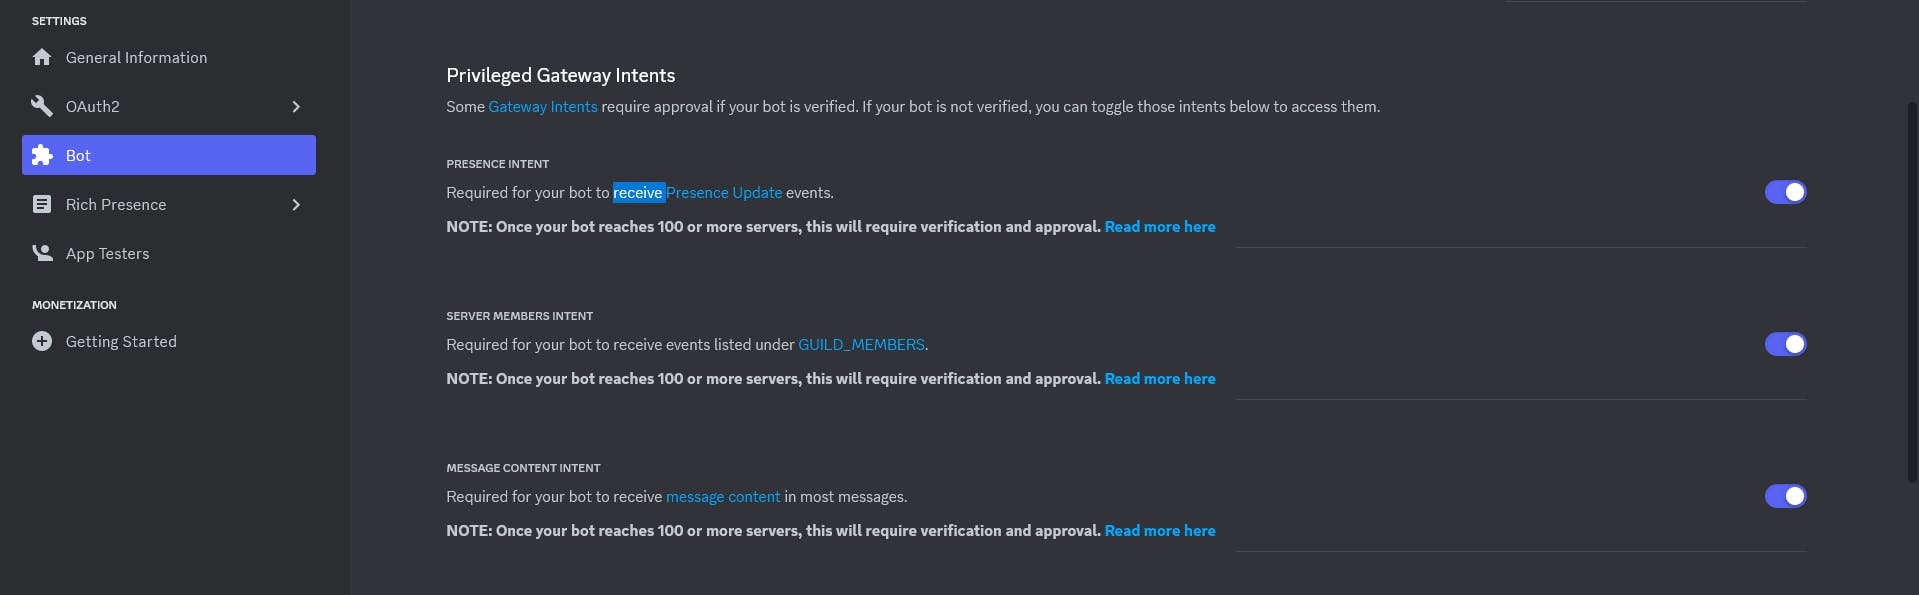
Enable the Privileged Gateway Intents for your bot to enable sending and receiving messages. Discord introduced Gateway Intents to allow bot developers to select specific events their bots should respond to, based on the data they require. These Intents are groups of predefined WebSocket events that your discord.js client will handle.
Step 4: Inviting Your Bot to the Server
Now, go to the OAuth2 tab and access the URL Generator. This step is crucial for inviting the bot to your server. Within the scope options, select bot and grant it admin access.


After selecting Administrator, a unique link will be generated. Copy this link and paste it into your web browser. Now, simply use the generated link to add the WisdomWhisper bot to your Discord server.

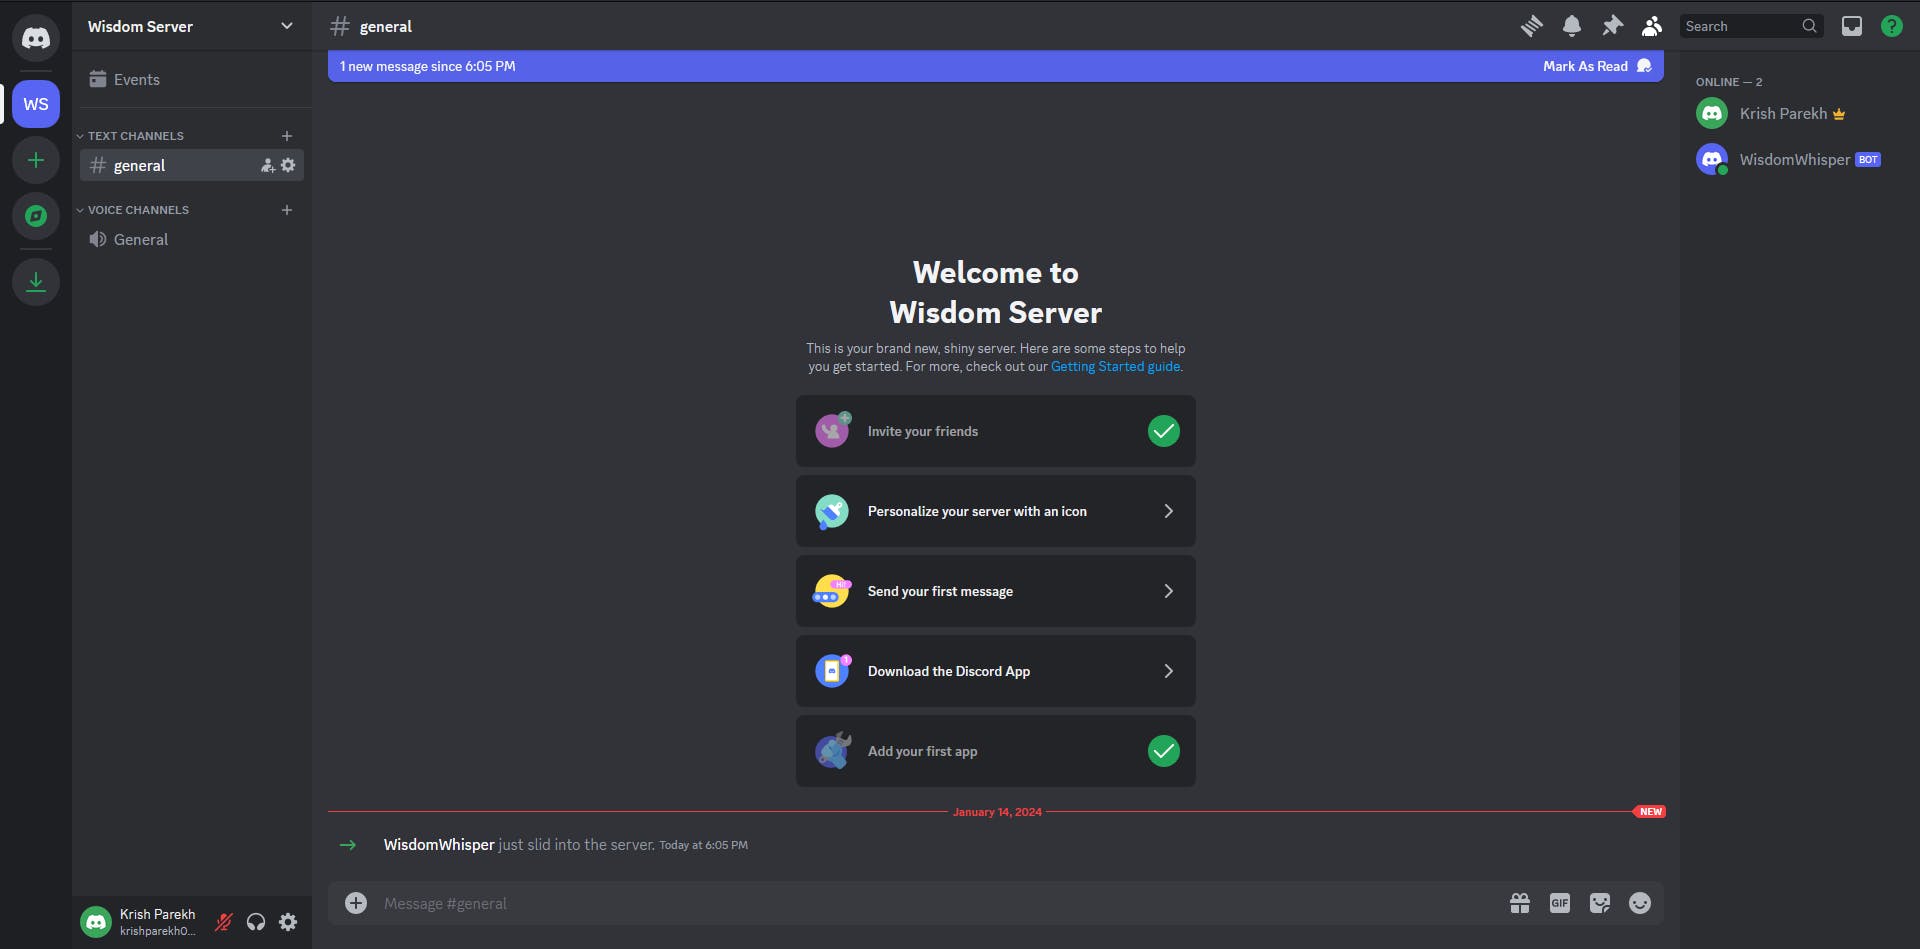
Once you've added the bot, you'll receive a notification message in your Discord server confirming its arrival. With this, the setup of your Discord server is complete. Next, we'll move on to learning how to interact with the server using the bot.
Setting Up Node.js
Step 1 : Create Project Folder
Create a folder and name it WisdomWhisper.
mkdir WisdomWhispher
cd WisdomWhispher
Step 2: Initialize Package Manager
Initialize the Node Package Manager (NPM) in your project.
npm init
{
  "name": "wisdom_whisper",
  "version": "1.0.0",
  "description": "Meet our Discord bot, your friendly digital companion! This bot is here to add fun and functionality to your server. From sharing useful tips to entertaining games, it's your go-to for a great time. Get ready to chat, play, and explore with our Discord bot!",
  "main": "index.js",
  "type": "module",
  "scripts": {
    "test": "echo \"Error: no test specified\" && exit 1"
  },
  "author": "Krish Parekh",
  "license": "ISC",
}
Step 3: Installing Dependencies
discord.js is a powerful node.js module that allows you to easily interact with the Discord API.
dotenv module that loads environment variables from a
.envfilenodemon tool that helps develop Node.js based applications by automatically restarting the node application when file changes in the directory are detected.
npm install discord.js dotenv nodemon
Step 4: Setting Up the .env File
Configure the .env file for your project.
BOT_TOKEN = X.X.X.X
Command 1 : Ping Pong
With all the setup complete, let's create a simple bot to test our application.
Firstly, we need to create a Discord client. This will be the starting point for our Node.js server to interact with the Discord bot API.
Intents are bitwise values combined using the OR operator ( | ). They specify the events or groups of events that you want Discord to send to your application.
In Discord, Guilds represent isolated collections of users and channels, commonly referred to as 'servers' in the user interface.
const client = new Discord.Client({
  intents: [
    GatewayIntentBits.Guilds,
    GatewayIntentBits.GuildMessages,
    GatewayIntentBits.MessageContent,
  ],
});
Next, we need to log in our client to establish the WebSocket connection with Discord.
client.login(process.env.BOT_TOKEN);
Now, attach an event listener to our client object. This listener will monitor all message creation events and trigger a callback accordingly. Use the method on(event, listener) for this purpose.
client.on("messageCreate", (message) => {});
While handling the messageCreate event, there are a couple of key points to consider:
Avoid responding to messages created by the bot itself.
Not every message should trigger a response. Therefore, define a specific prefix to determine which messages the bot should respond to.
if (message.author.bot) return;
if (!message.content.startsWith(PREFIX)) return;
After ensuring both conditions are met, we will slice the string such that we remove the PREFIX from the command input by the user.
const command = message.content.substring(PREFIX.length);

if (command === "ping") {
  handlePingCommand(message);
}
We'll check if the user's command is ping. If it is, we'll call a function specifically designed to handle this command. This function will facilitate sending a reply back to the user who initiated the command.
function handlePingCommand(interaction) {
  const timeTaken = Date.now() - interaction.createdTimestamp;
  interaction.reply(`Pong! This message had a latency of ${timeTaken}ms.`);
}
import Discord, { GatewayIntentBits } from "discord.js";
import dotenv from "dotenv";

dotenv.config();

const PREFIX = "/";

const client = new Discord.Client({
  intents: [
    GatewayIntentBits.Guilds,
    GatewayIntentBits.GuildMessages,
    GatewayIntentBits.MessageContent,
  ],
});

function handlePingCommand(interaction) {
  const timeTaken = Date.now() - interaction.createdTimestamp;
  interaction.reply(`Pong! This message had a latency of ${timeTaken}ms.`);
}

client.on("messageCreate", (message) => {
  if (message.author.bot) return;
  if (!message.content.startsWith(PREFIX)) return;

  const command = message.content.substring(PREFIX.length);

  if (command === "ping") {
    handlePingCommand(message);
  }
});

client.login(process.env.BOT_TOKEN);
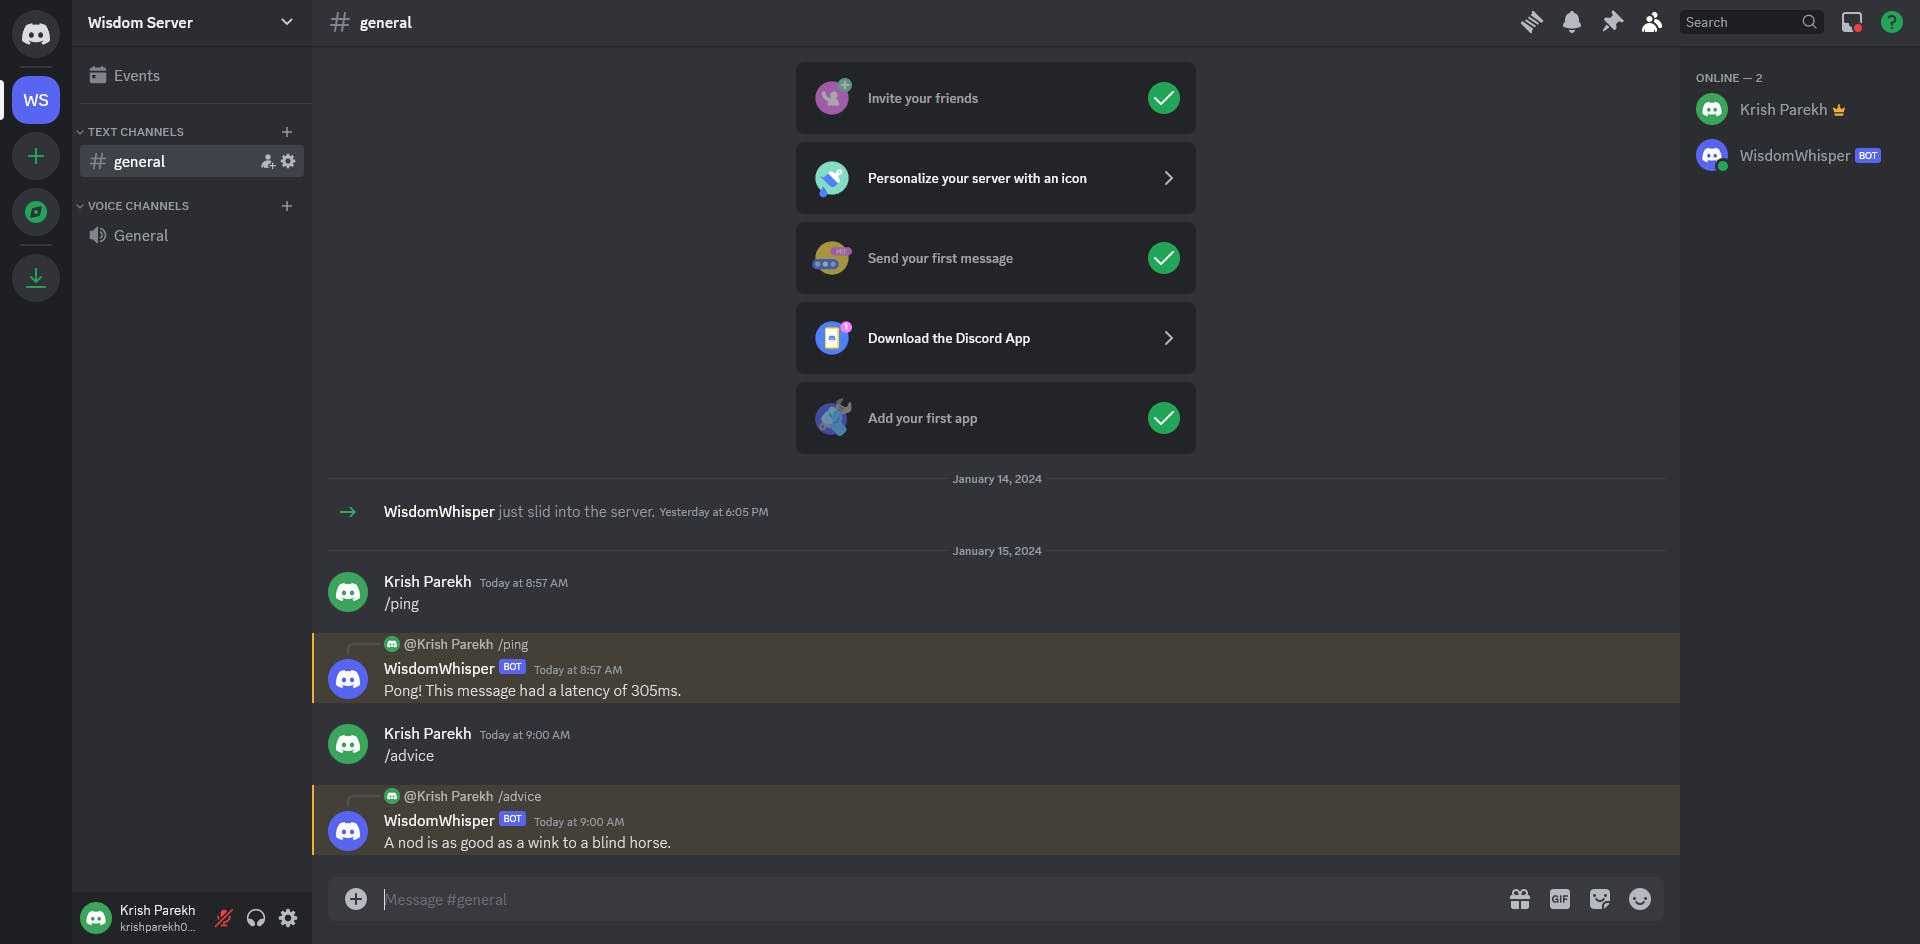
Now it's time to test the bot. Run the command in your Command Line Interface (CLI) to start the Node.js server. Then, send a message from your Discord server using /ping to see if the bot responds.
nodemon index.js

Command 2 : Get Advice
Now that we've learned how to interact with user messages, let's create a new command that provides a random piece of advice. We'll simply add an additional command to our existing bot for this purpose. Name this command /advice. For generating the advice, we'll use the AdviceSlip API.
const ADVICE_API = "https://api.adviceslip.com/advice";

async function handleAdviceCommand(interaction) {
  const response = await fetch(ADVICE_API);
  const advice = await response.json();
  interaction.reply(advice.slip.advice);
}
import Discord, { GatewayIntentBits } from "discord.js";
import dotenv from "dotenv";

dotenv.config();

const PREFIX = "/";
const ADVICE_API = "https://api.adviceslip.com/advice";

const client = new Discord.Client({
  intents: [
    GatewayIntentBits.Guilds,
    GatewayIntentBits.GuildMessages,
    GatewayIntentBits.MessageContent,
  ],
});

function handlePingCommand(interaction) {
  const timeTaken = Date.now() - interaction.createdTimestamp;
  interaction.reply(`Pong! This message had a latency of ${timeTaken}ms.`);
}

async function handleAdviceCommand(interaction) {
  const response = await fetch(ADVICE_API);
  const advice = await response.json();
  interaction.reply(advice.slip.advice);
}

client.on("messageCreate", (message) => {
  if (message.author.bot) return;
  if (!message.content.startsWith(PREFIX)) return;

  const command = message.content.substring(PREFIX.length);

  if (command === "ping") {
    handlePingCommand(message);
  }

  if (command === "advice") {
    handleAdviceCommand(message);
  }
});

client.login(process.env.BOT_TOKEN);
Conclusion
In our upcoming blog, we will take a closer look at the Discord API. We'll learn how to register commands for a discord bot. If you've enjoyed reading and found our content helpful, we'd love it if you could spread the word by liking and sharing our post with your friends and colleagues.